Often, when we set out to do the setup on our RC cars, we can fall into the trap of not doing it in the right order. Why does order matter? Simply because the adjustments we make to the car can affect other settings you already dialed in if you do not follow the proper sequence.
We will not go deep into how each adjustment is done in this tutorial—we will simply show you what to measure and check, and in what order!
Some people think that once camber, toe, ride height, and so on are set, there is no need to look again. Then they are surprised to see how much those measurements have drifted after running the car.
Suppose the car is fully built and you want to review every setting so it is back at 100%. The steps should be followed in this order:
1 - CHASSIS :
Remove the wheels and place the chassis on a flat surface—and when we say flat, we do not mean on a wooden table; use marble or a setup board you know is perfectly level! On off-road cars where the arms hang lower than the chassis, disconnect the shocks. By pressing down on the ends of the chassis you will see whether it sits completely flat. Look between the chassis and the flat surface to make sure there is no longitudinal or lateral twist. If the chassis is bent, it is relatively easy to straighten it with careful leverage, but that chassis will never be the same again and is already weakened at that point. So if your chassis is not completely flat, the best recommendation is to replace it with a new one.
2 - DOWNSTOPS :
To check downstops you must release everything acting on suspension arm movement—shocks and sway bars—so the arm is completely free and should move smoothly, dropping by its own weight from the top of its travel to the bottom. If it does not move freely, find out why: axles, hubs, overtightened hardware, rust, or even a damaged driveshaft. Once that is checked, adjust the downstops. For more on how to set downstops on your RC car, see this tutorial: Downstop Adjustment
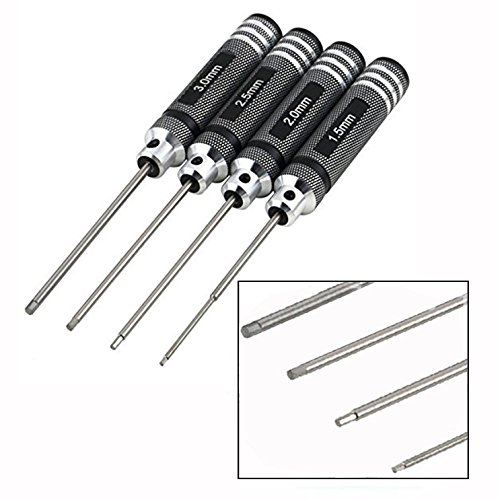
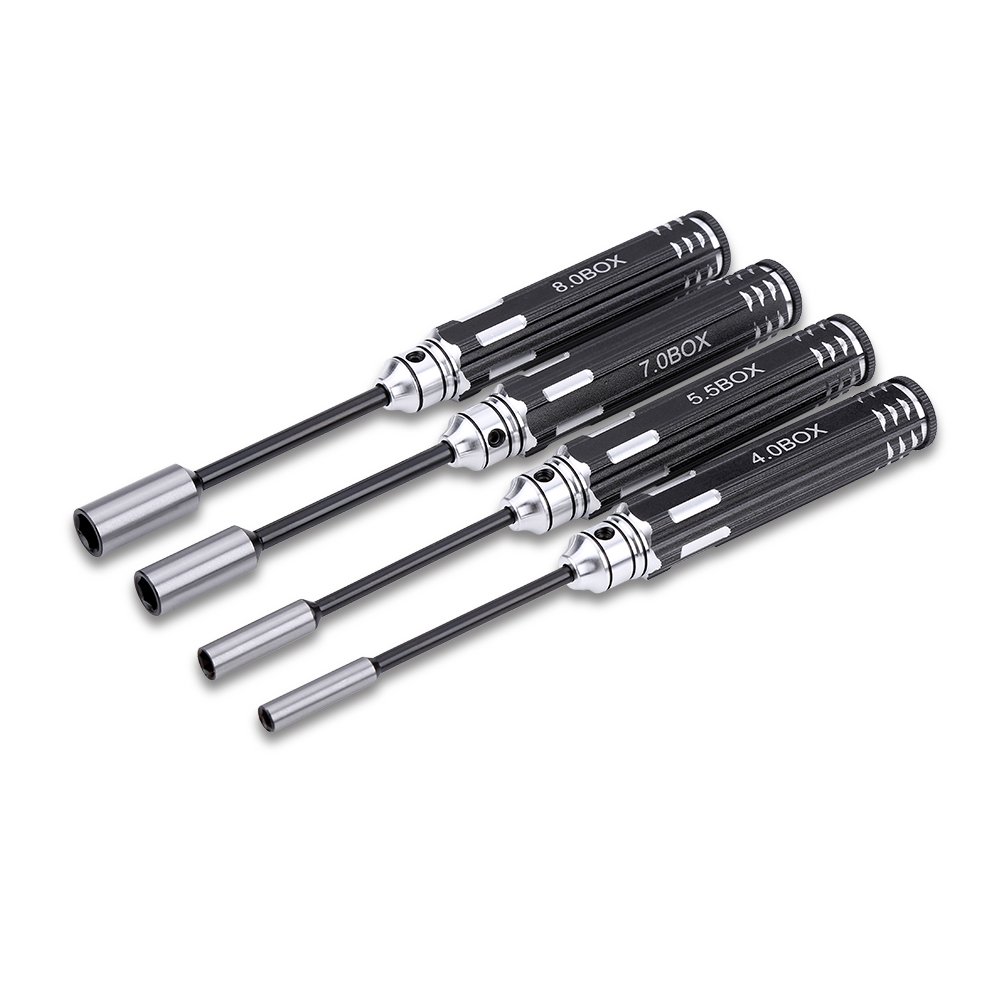
It is very important to have proper tools, such as this kit:
3 - SWAY BARS :
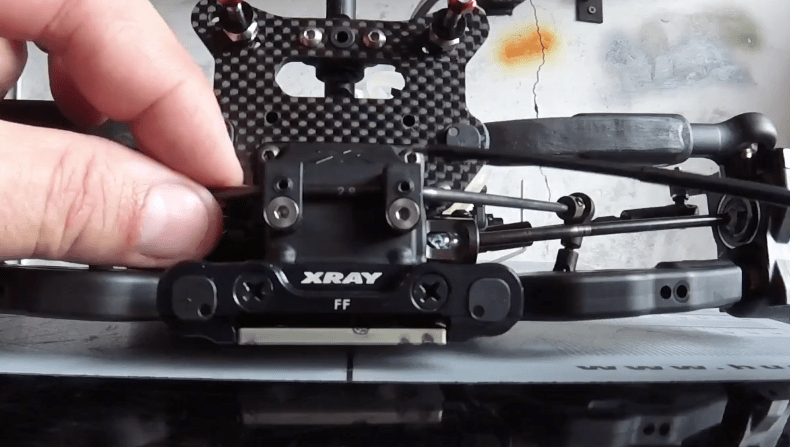
Once downstops are set, check that the sway bars also move freely without binding through their full travel. Then reconnect them and adjust so both wheels lift equally when the same upward force is applied. There are several types of sway bars and all can be adjusted. For more on sway bar setup on RC cars, see this tutorial: Off-Road Sway Bar Setup
4 - SHOCKS :
Reconnect the shocks to the pistons and arms. Here the main points are that no shock shaft is bent, they all have the same length, and you are sure they have not lost shock oil. A sticky shock usually means oil loss, so inspect them structurally and visually.
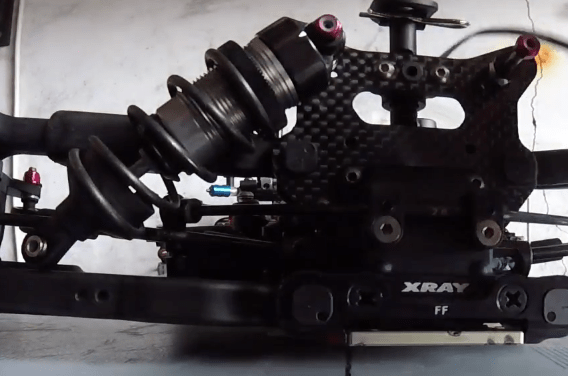
If you notice any oil loss, refill with the correct viscosity and always bleed air from inside.

5 - RIDE HEIGHT :
With shocks connected, fit new tires—or better yet, dedicated setup wheels with a perfect diameter, since race tires are never 100% round. If you do not have setup wheels, always use new tires. It is very important to do this adjustment at running weight, except you may leave off the body and fuel if you prefer. Use shock preload collars: compress the spring to gain height or release preload to lower it. Keep roughly the same preload on shocks on the same axle, otherwise you get the height but with a badly unbalanced car. For more on measuring ride height, see: How to Measure Ride Height
6 - TOE / CAMBER ALIGNMENT :
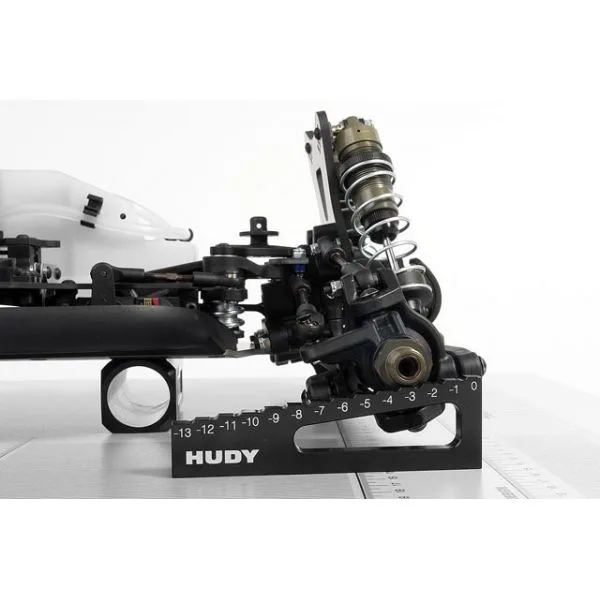
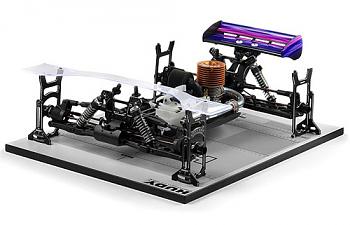
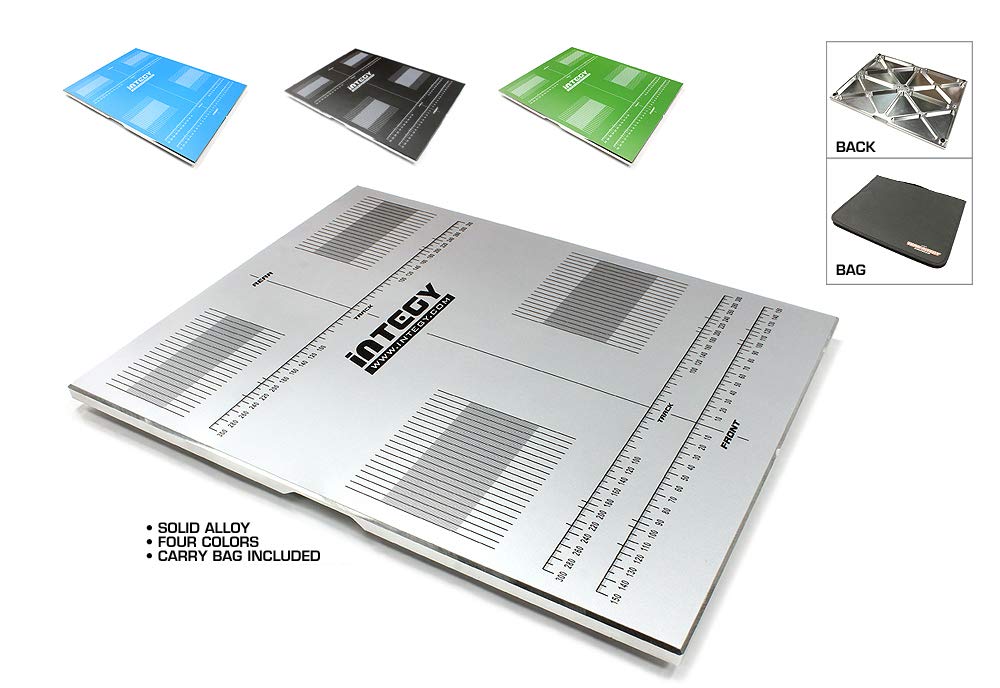
Time to put the car on the setup board—the best way to measure this accurately. Remove the wheels again, place the car on the setup board, and check the settings. We will not prescribe numbers here, since every car and every driver is different. What matters on the front is being completely sure the steering is straight, or you can ruin this setting very easily.
7 - CAMBER :
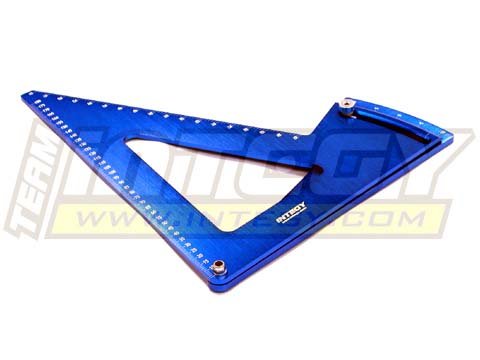
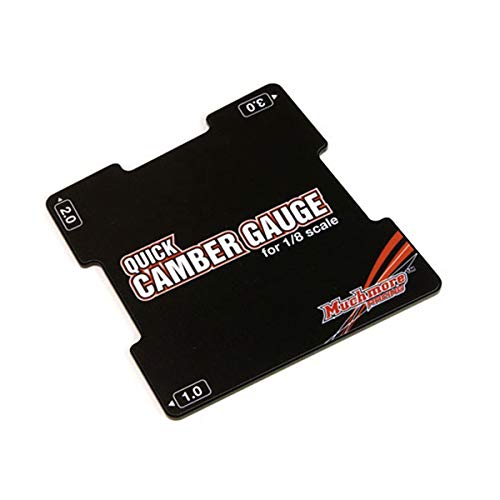
Measure camber on the same setup board and adjust for your driving style, manufacturer recommendations, or track grip.
8 - WHEEL CONTACT / WEIGHT BALANCE :
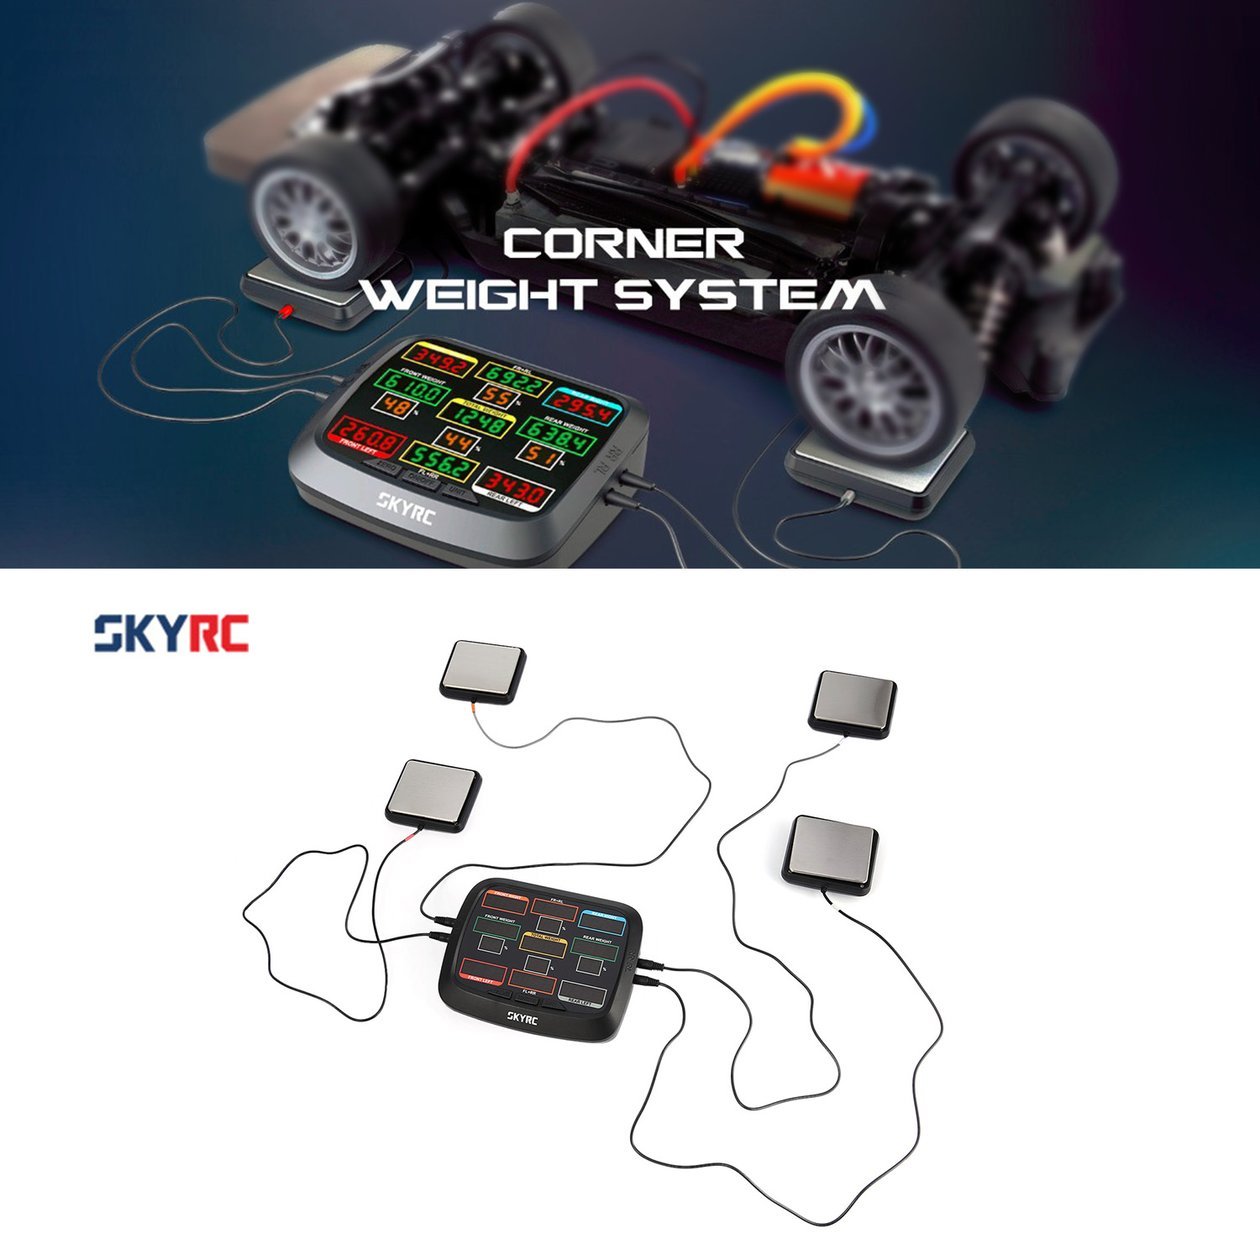
After camber and toe, fit new or setup wheels again and check how the tires contact the ground. Again, the car must be at running weight, and please Very important—this adjustment is NOT done with downstops!!!!. Lift the axle you want to check from the center of the chassis and lower it slowly to see which wheel touches first. How you adjust contact is interesting: when setting the rear, adjust front shock preload to equalize rear wheel contact, and vice versa for the front—always without changing ride height on either axle. How do you achieve that without changing ride height? We cover it step by step in How to adjust RC car weight balance, by Dioni Santana.
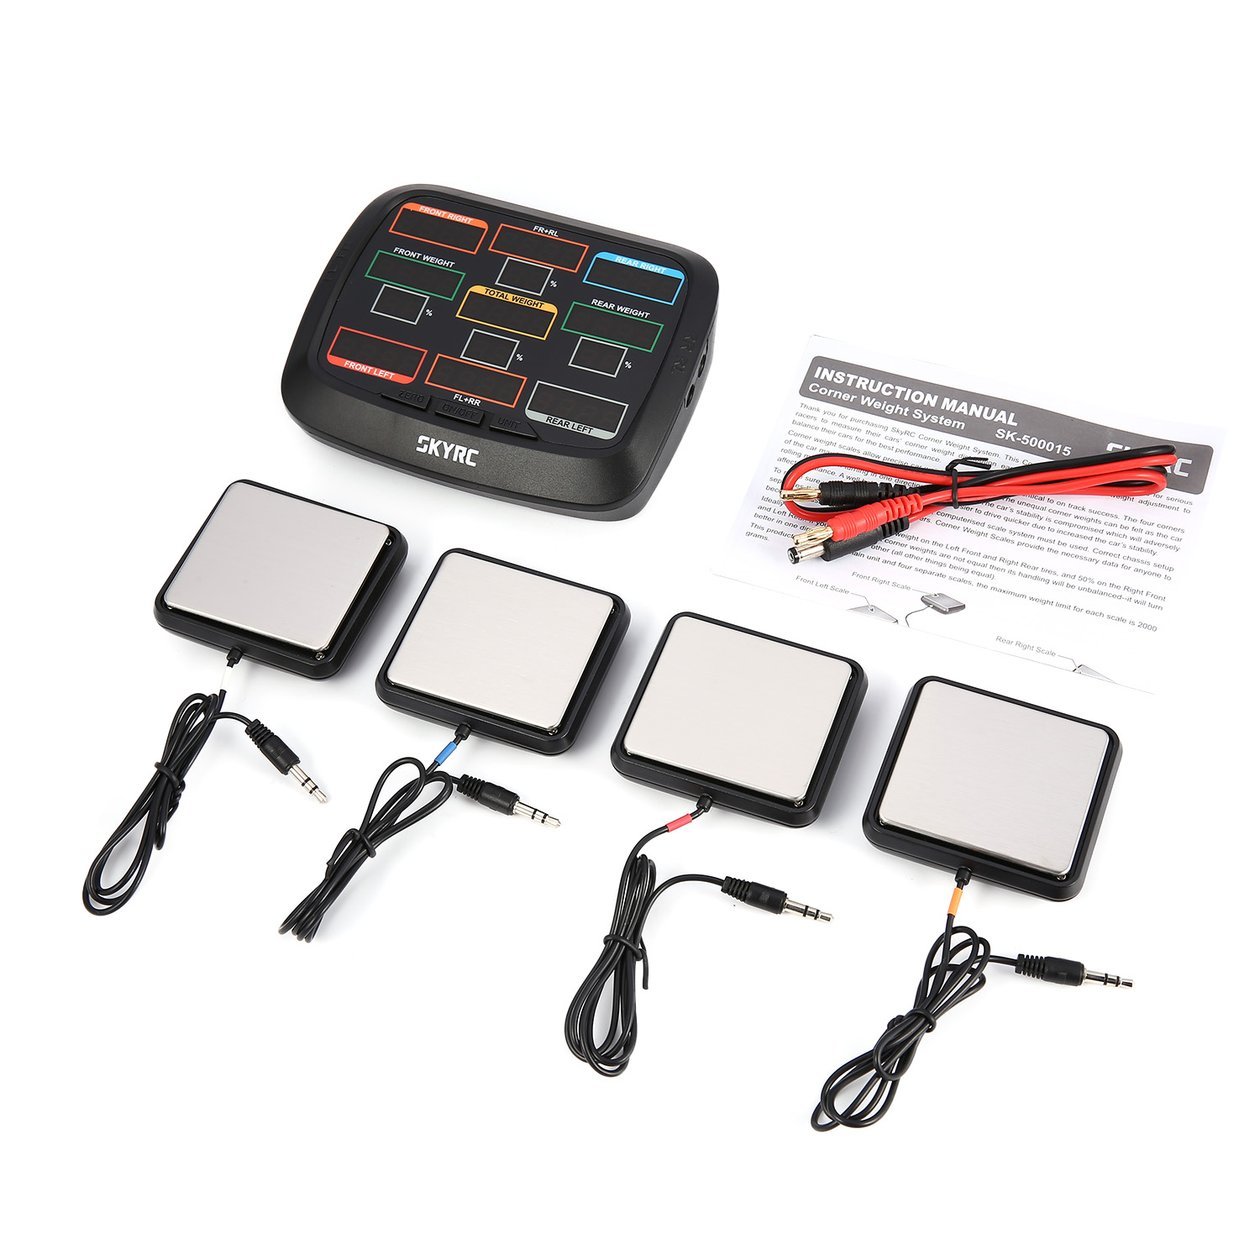
One tool I consider essential for weight balance on corner scales:
 Once you have followed all these steps—and there are quite a few—you will have a car fully ready to give it everything on track again!
Here is a video from the channel where I explain the same process:
Hope this helps.
Cheers.
PuntoRacingRC ;)