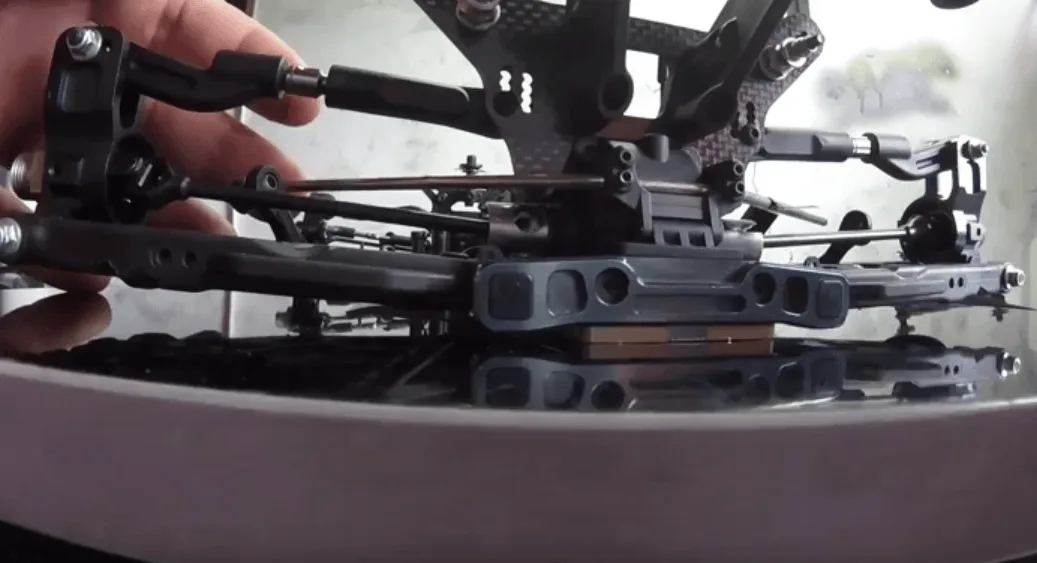
In this tutorial, Dioni Santana explains how to adjust an RC sway bar, which is often overlooked. How to install sway bars correctly.
This is a very important part of RC car setup because the whole suspension system depends directly on them.
How to Mount Sway Bars
First check that the bar is installed correctly—sometimes they are overtightened.
Place the sway bar in its mount; it should be free enough to work smoothly but without excessive slop.
The sway bar should move laterally and drop on its own. Adjust with the screws ( studs ) that hold it.
Now insert the bar into the links and put it back in the differential mount. The procedure is the same on front and rear.
Sway Bar Adjustment
When cars have no sway bar adjustment, you work with the arm stud lengths. Put a block under one arm and measure how much the other arm lifts. Then reverse and measure. If the height differs, adjust by lengthening or shortening the arm link until both sides match.
What Is a Sway Bar in Radio Control?
Body roll on an RC car comes from inertia in corners and under braking. Weight, chassis height, weight distribution, and more all play a role. From a setup perspective, there are points we need to understand so our RC car behaves better on track.
One is shock spring stiffness; another is the sway bars, which actually correct roll.
Soft RC shock spring = more body roll
- To reduce roll, sway bars are fitted so the car stays as flat as possible relative to the track. They act directly on the suspension arms with vertical force that helps stabilize the car. Buggy, GT, large scale—every car should have sway bars; it is a critical adjustment.